Mastering Car Stereo Installation: Step-by-Step Guide for Beginners
In the dynamic world of automotive upgrades, mastering car stereo installation has become an essential skill for enthusiasts and casual users alike. According to a recent report by the Consumer Electronics Association, nearly 75% of car owners are dissatisfied with the sound quality of their factory-installed audio systems. This dissatisfaction has sparked a surge in DIY car stereo installations, with a reported 40% increase in sales of aftermarket audio equipment over the past three years.
Understanding the step-by-step process of car stereo installation not only enhances the auditory experience but also empowers individuals to customize their vehicles to suit their preferences. With the right tools and knowledge, anyone can transform their driving experience through sound, making this guide indispensable for beginners looking to dive into the world of car audio enhancements.
Essential Tools and Equipment for Car Stereo Installation
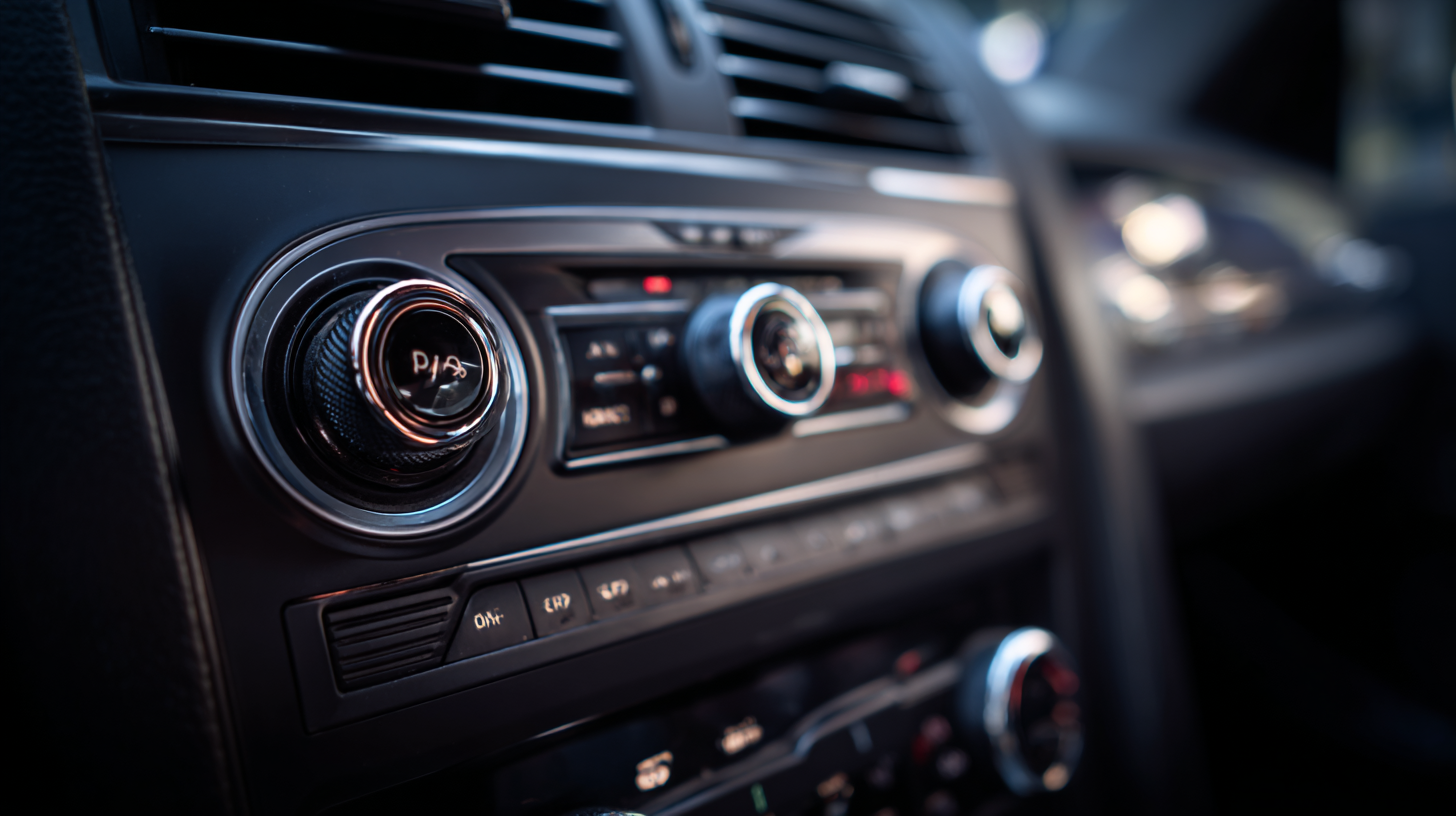
When embarking on a car stereo installation project, having the right tools and equipment is crucial for a smooth and successful process. Essential tools include a set of screwdrivers, both Phillips and flathead, which are necessary for removing screws from the dashboard and securing the stereo unit. A wire stripper is also vital, as it allows you to prepare the wires for connections. Additionally, a socket set can come in handy for various mounting requirements, while electrical tape helps ensure all connections are secure and protected.
Beyond hand tools, specific equipment can greatly enhance your installation experience. A stereo installation kit, often custom-fitted for your vehicle model, simplifies the mounting process and ensures a seamless look. Furthermore, a multimeter is an essential device for checking electrical connections and making sure everything is functioning properly. Having these tools and equipment on hand will not only make the job easier but also help you achieve a professional-quality installation while avoiding potential pitfalls.
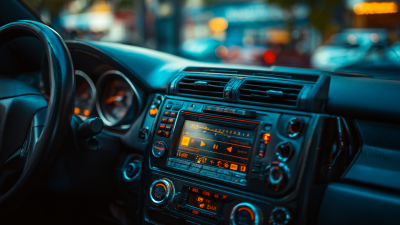
Selecting the Right Car Stereo: Key Features to Consider
When selecting the right car stereo, it is essential to consider several key features that can significantly enhance your audio experience. According to recent market research conducted by Statista, the global car audio market is projected to reach approximately $9 billion by 2025, underscoring the growing consumer interest in high-quality car audio systems. One of the primary features to consider is the audio quality, which includes factors such as wattage, frequency response, and the type of speakers that are compatible with the system.
Another crucial aspect is connectivity options; modern car stereos often come equipped with Bluetooth, USB, and sometimes even Wi-Fi capabilities. This allows users to seamlessly connect their smartphones for hands-free calling and music streaming, making the driving experience more enjoyable and safer. Data from a survey by J.D. Power indicates that 58% of consumers prioritize connectivity features when purchasing a new vehicle, highlighting the importance of selecting a car stereo that meets these demands. Additionally, consider the interface and ease of use, as a user-friendly system can make all the difference while on the road.
Key Features to Consider When Selecting a Car Stereo
Step-by-Step Guide to Removing Your Old Car Stereo
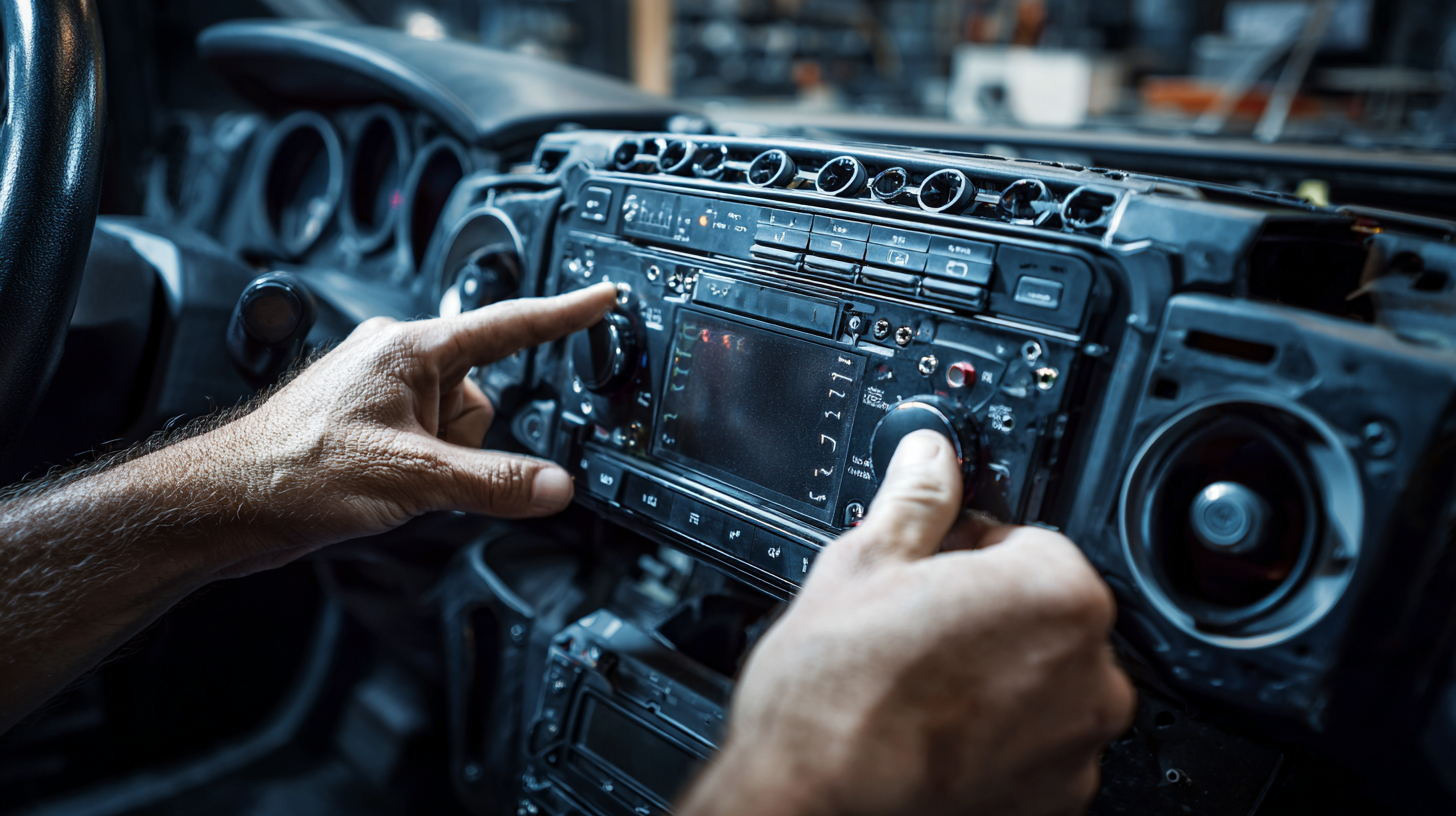
Removing your old car stereo might seem daunting, but with the right guidance, it can be a straightforward task. Begin by gathering the necessary tools such as a screwdriver, wire cutters, and a panel removal tool. Before you start, ensure that your car is parked in a safe location, and disconnect the battery to avoid any electrical shorts during the process.
Once you’re ready, carefully remove any trim panels surrounding the stereo. This may require patience, as they can be clipped in tightly. Use the panel removal tool to avoid damaging the dashboard. After the trim is out of the way, locate the screws holding the stereo in place and remove them. Gently pull the stereo out of its slot, being mindful of the wiring connected to the back. Disconnect the wiring harness and any antenna cables, ensuring you don’t yank or damage them. With these steps completed, your old stereo will be removed, setting you up for an exciting new installation.
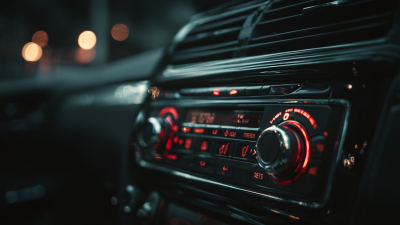
Wiring Your New Car Stereo: A Beginner's Tutorial
Wiring your new car stereo can seem daunting at first, but with the right guidance, it can be a straightforward procedure. The first step is to gather the necessary tools: a wire stripper, crimping tool, and electrical tape. Before you start, ensure that your vehicle is powered off to avoid any electrical hazards. Remove the old stereo by carefully detaching the faceplate and unscrewing any brackets that hold it in place. Disconnect the wiring harness, noting the color codes for each wire, as this will be essential when connecting your new stereo.
Once you have the old unit removed, it's time to prepare for the installation of your new car stereo. Start by aligning the wiring harness from your new stereo with the vehicle's harness. Most aftermarket stereos come with a wiring diagram that details which wires match up. Strip the ends of the wires and use the crimping tool to securely connect them. Be sure to connect the ground wire first, followed by the power, followed by the speakers. After securing all connections, wrap them in electrical tape to prevent any shorts. Finally, slide your new stereo into place and secure it with the brackets, ensuring everything is tightly fitted before turning the power back on.
Tips for Testing and Optimizing Your Car Stereo System
Testing and optimizing your car stereo system is crucial to ensure the best audio experience. After installation, start by playing various types of music at different volume levels. Pay attention to sound clarity and balance across all speakers. This helps identify any weaknesses, such as distortion or inadequate bass response. Adjust the equalizer settings to enhance frequencies that might feel lacking, providing a richer listening environment tailored to your personal preferences.
Additionally, consider the placement of the speakers and your listening position. The direction in which the speakers are aimed can significantly impact sound quality. Experiment with the placement of your subwoofer and try different enclosure types to maximize bass performance. Using sound deadening materials in strategic locations can also minimize unwanted vibrations and road noise, further enhancing your listening pleasure. Taking the time to test and tweak these components will lead to a more immersive audio experience in your vehicle.

 +86-18126757325
 CONTACT NUMBER
 CONTACT NUMBER